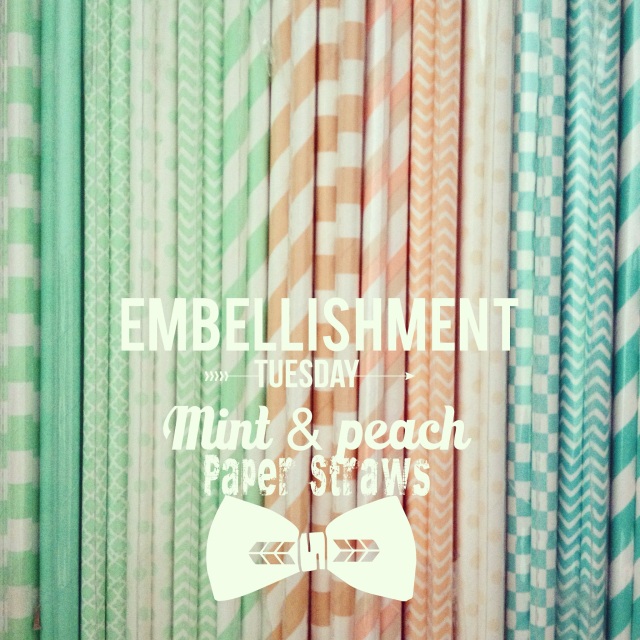
- Gold, Red & Teal Paper Straw
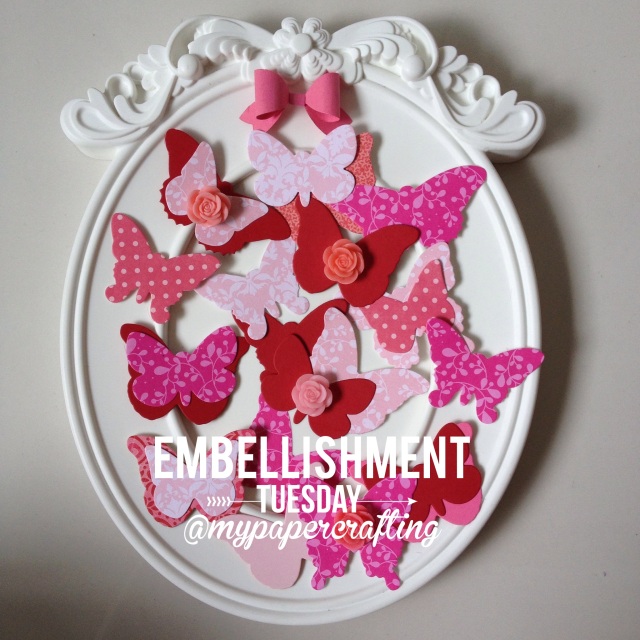
Are you ready for Embellishment Tuesday? 🙂 Today I would like to introduce you Gold, Red & Teal Series New Paper Straws ! 😉 They come in a variety of colors and design in stripe, horizontal stripe, diamond, heartshape, polka dot, chervon, stars and two tone colors. Pattern paper straws is in the trends now and you can make some pretty stuff for this year Valentine!It’s perfect for theme party decoration, pretty packing, handmade crafts and scrapbook or card making etc. Enjoy your day and have fun! 🙂
Details
Material: Food Grade Bleached Paper,It’s bio-degradable.InK,it’s made with food safe ink
Length: 7.75″
Inner Dia: 5.5mm
Outer Dia:6mm(1/4inch).
Package: opp bag with 25pcs
Pattern: Please choose your color and design in 5 qty per design – stripe, horizontal stripe, diamond, heartshape, polka dot, chervon, stars and two tone colors.
Used For: Any party table, candy buffet,wedding birthday, baby shower, graduation, holiday and everyday celebrations, and others.
Here is where you can purchase it here.
Have fun creating!
Thanks for looking.
Enjoy your day ahead.
Gladys